A Beginner's Guide to Making Crochet Keychains
The four stitches, the five supplies and the first tiny project — everything you need to finish your first keychain this weekend.
By Sofie Lang · 30 July 2026 · 9 min read
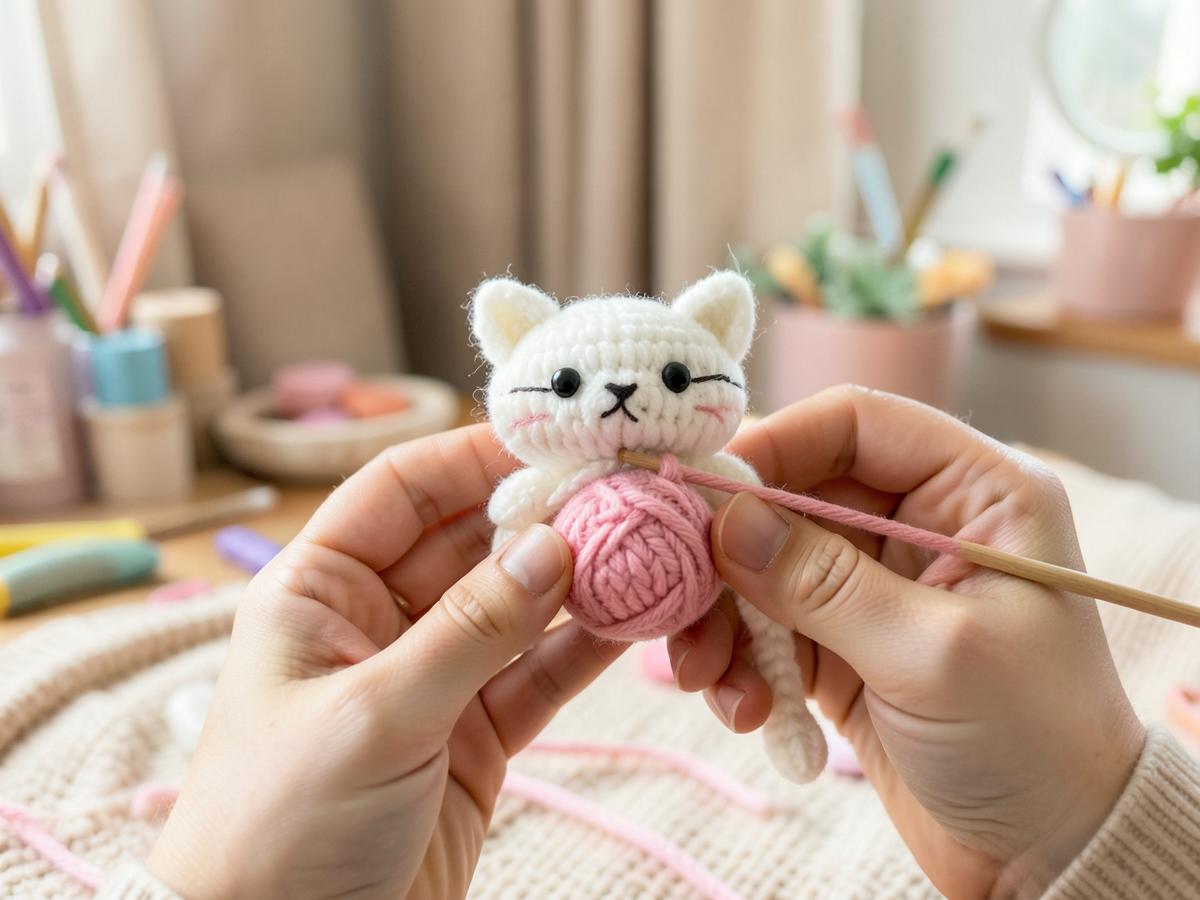
Keychains are the best possible first amigurumi project. They are small, so mistakes cost minutes instead of hours; they use very little yarn; and you get a finished, usable object at the end. If you have never held a hook, this guide takes you from nothing to a completed charm.
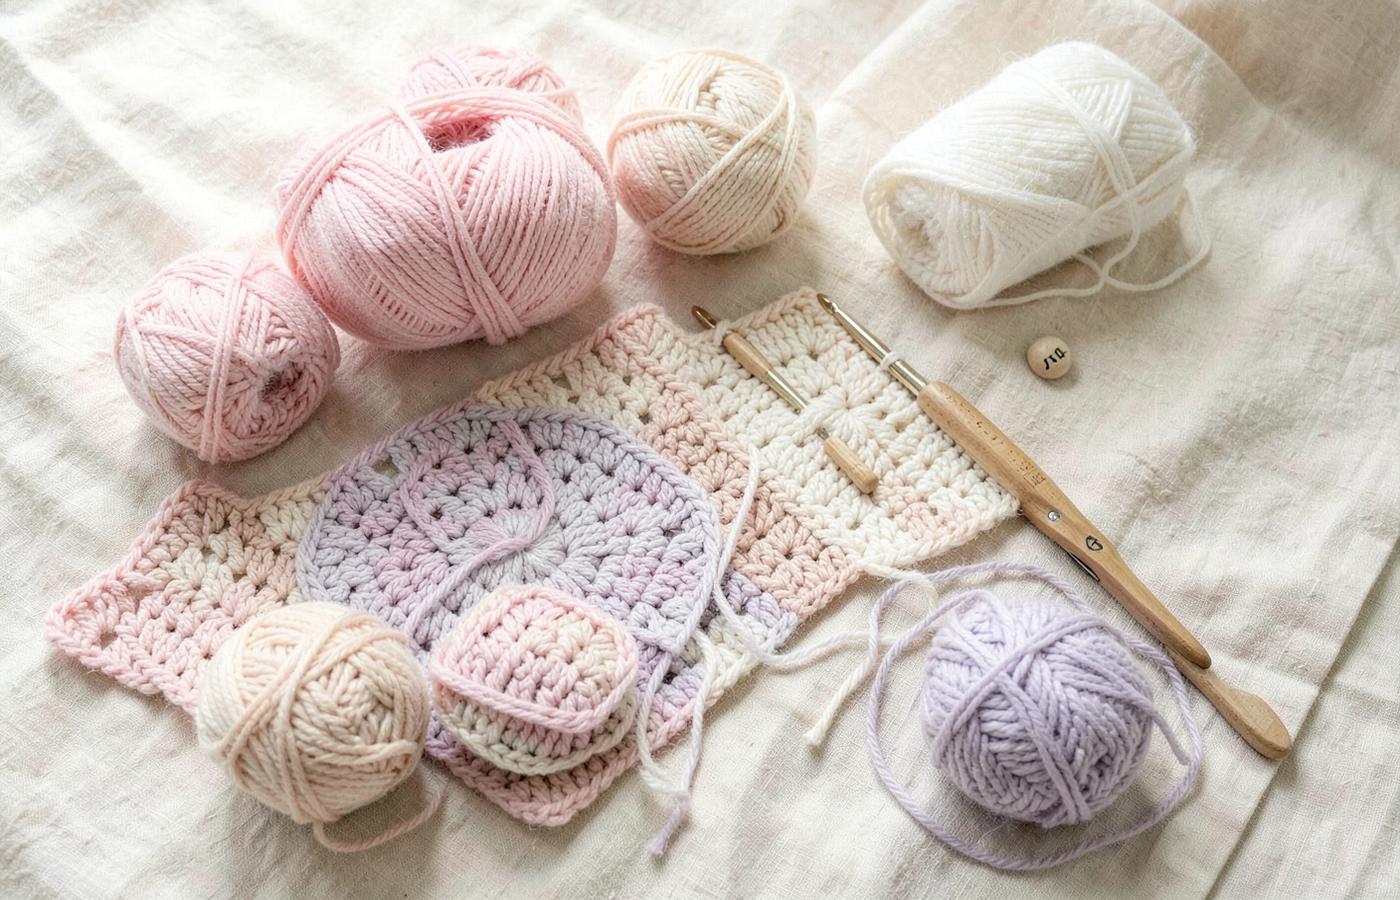
What you actually need
- A 2.5mm or 3mm crochet hook — smaller than the yarn label suggests, so the stuffing does not show.
- 4-ply cotton or milk cotton yarn in two or three colours.
- Polyester fibrefill stuffing (a small bag lasts for dozens of keychains).
- A blunt tapestry needle for sewing pieces together.
- Keyring hardware: split rings and lobster clasps.
Optional but helpful: 6mm safety eyes, stitch markers, and small sharp scissors. Total cost to start is usually under the price of two finished keychains.
The four stitches that cover everything
- 1Magic ring — an adjustable starting loop you pull closed.
- 2Single crochet (sc) — the dense stitch that makes up 95% of amigurumi.
- 3Increase (inc) — two single crochets in one stitch, to widen.
- 4Invisible decrease (dec) — joining two stitches, to narrow.
That is genuinely the whole vocabulary. A pattern that reads "R3: (sc, inc) x6 (18)" means: work one single crochet, then an increase, repeat six times, and you should end the round with 18 stitches.
Understanding the numbers in brackets
The number in brackets at the end of a round is your stitch count, and it is the single most useful checkpoint in crochet. Count every round. If you finish a round with 17 stitches instead of 18, fix it there — not four rounds later, when the shape has already gone wrong.
Your first project: a mini cat head charm
- 1R1: 6 sc in a magic ring (6).
- 2R2: inc in each stitch (12).
- 3R3: (sc, inc) x6 (18).
- 4R4–R7: sc in each stitch (18).
- 5Insert safety eyes between R5 and R6, four stitches apart. Stuff firmly.
- 6R8: (sc, dec) x6 (12).
- 7R9: dec x6 (6). Fasten off and close the gap.
- 8Add two small ear triangles, embroider a nose and whiskers, and attach a ring.
Expect the first one to take about ninety minutes and the third one to take thirty. The speed comes almost entirely from your hands learning where to insert the hook without looking.
Five mistakes almost everyone makes
- Losing the start of the round — use a stitch marker from round one.
- Working too loosely, so stuffing peeks through — go down a hook size.
- Crocheting into the wrong loop, which twists the spiral — always use both loops unless told otherwise.
- Stuffing too late, when the opening is already tiny.
- Sewing ears on before checking they are level — pin them first.
Where to go next
Once the head is comfortable, add a body, then arms, then an outfit. Each addition is the same four stitches in a different order. Within a month of weekend sessions you will be making the full kitty keychains you see across this blog — and inventing your own colourways.
Related articles
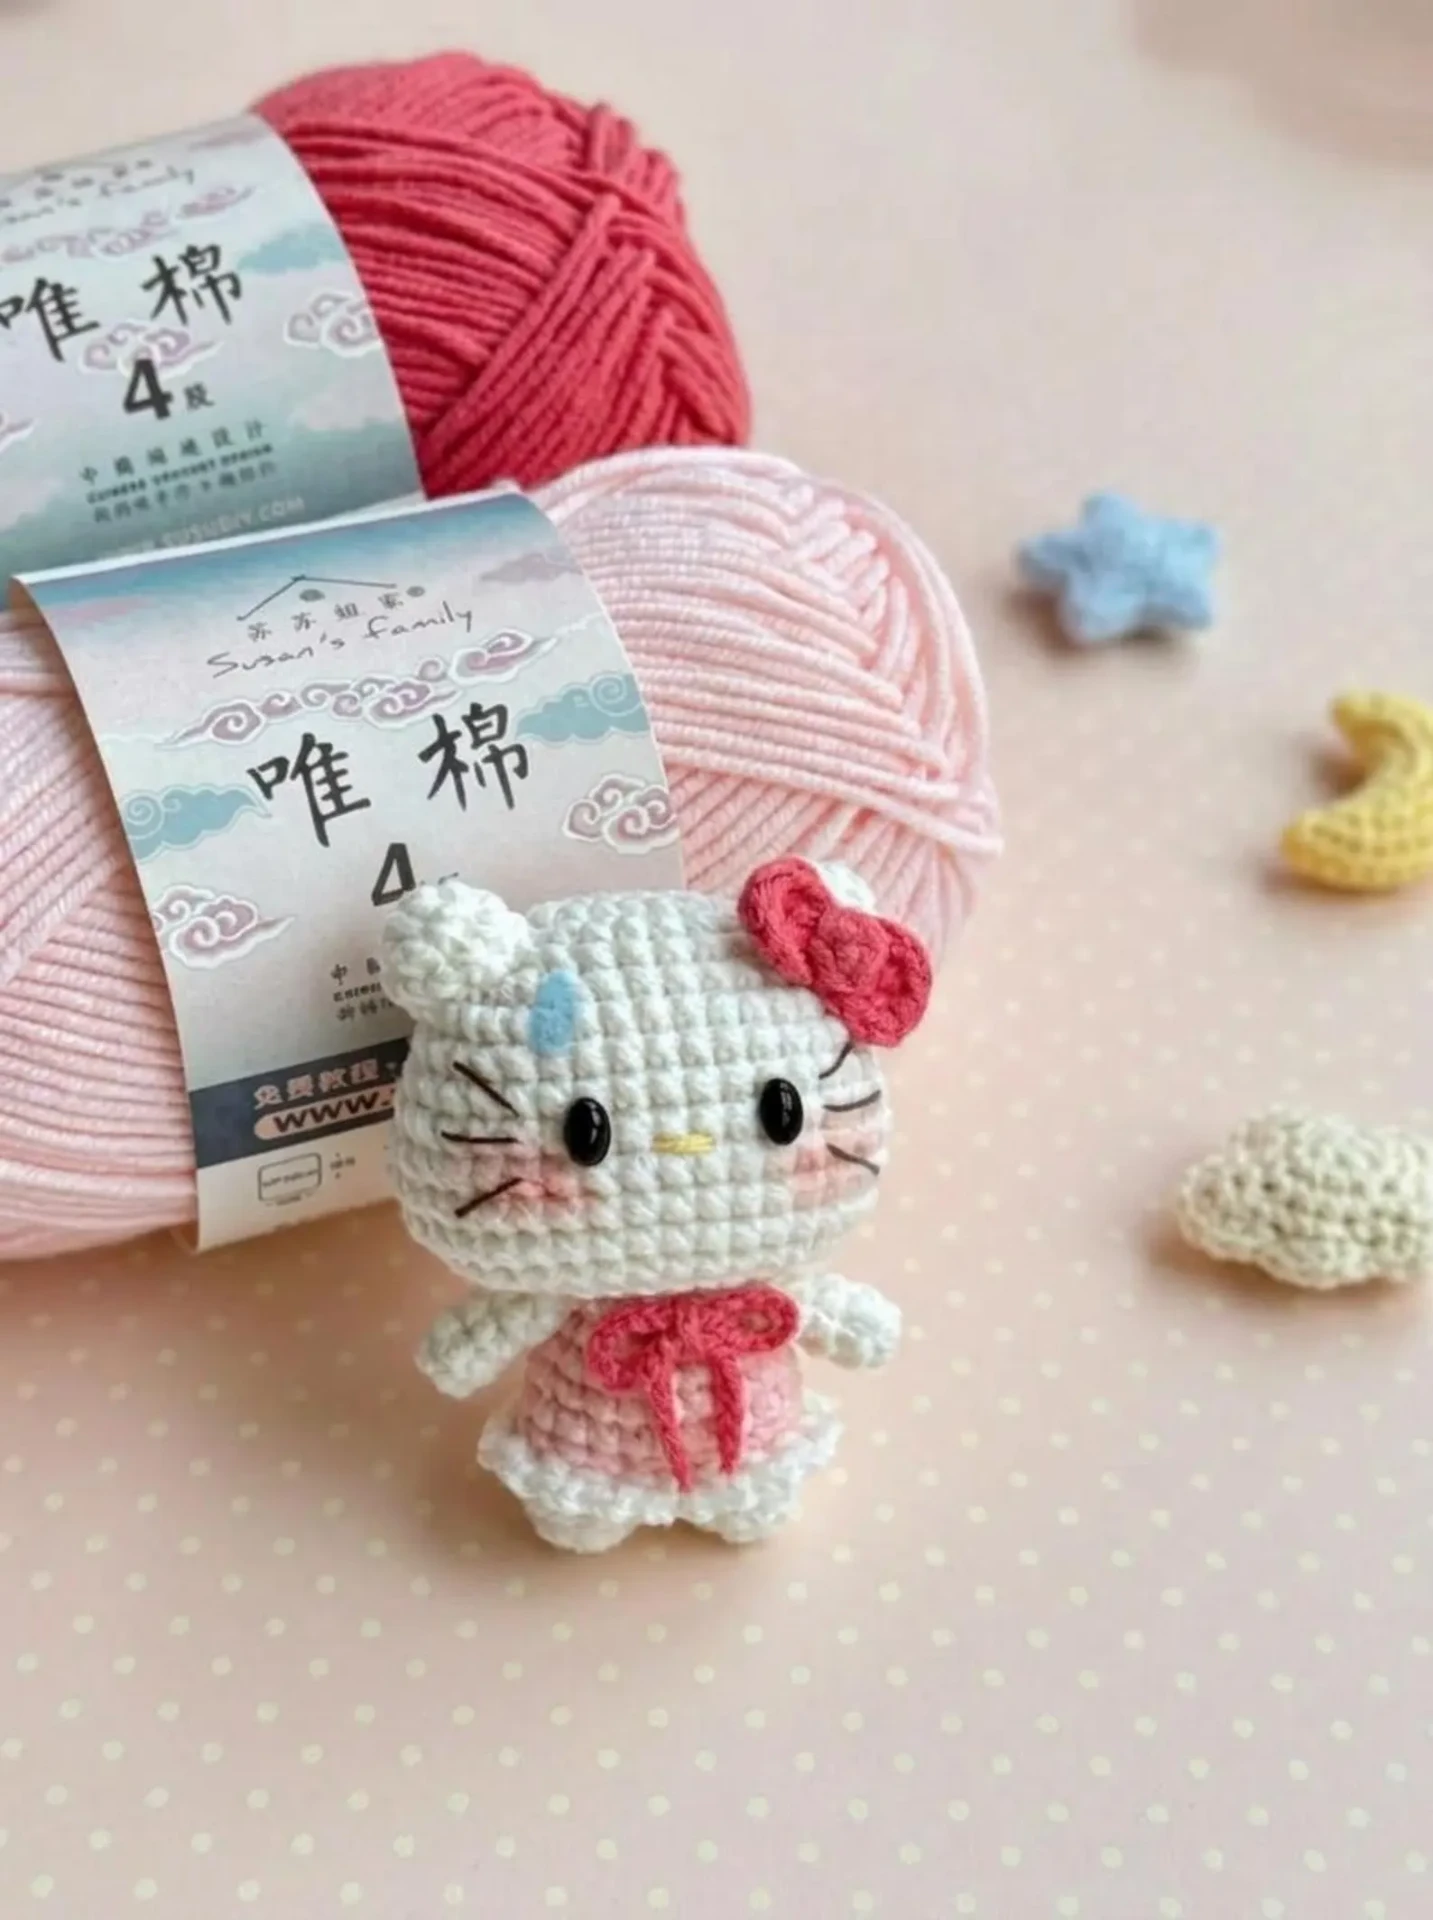
How Handmade Crochet Kitty Keychains Are Made
From the first magic ring to the final safety clip — a look inside the slow, careful process behind a two-inch crochet cat.
Read the article →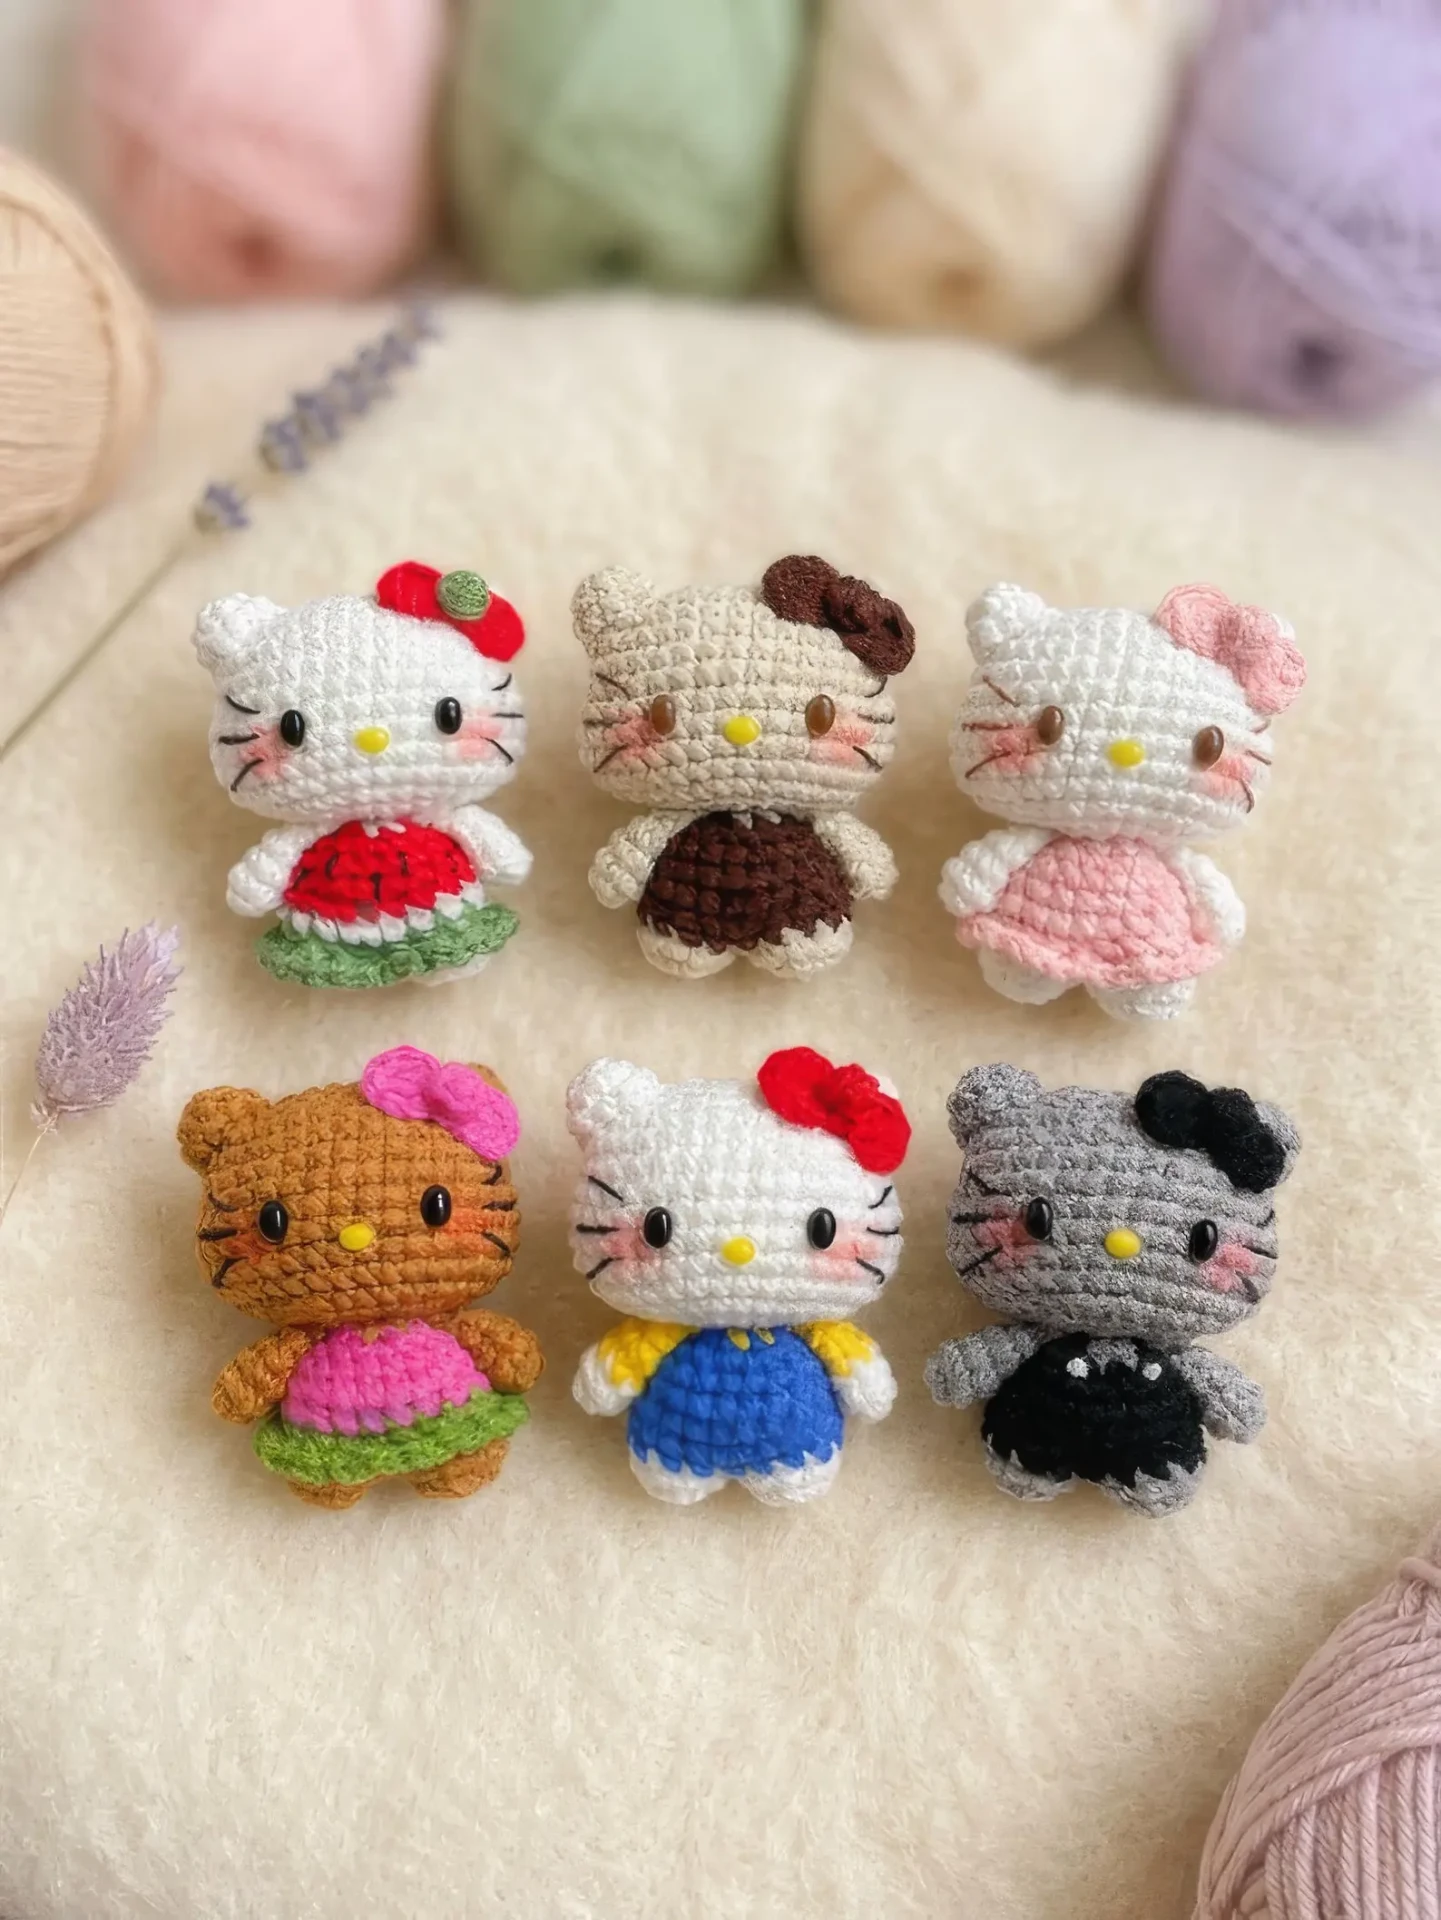
10 Cute Crochet Kitty Keychain Ideas
Fruit dresses, sleepy faces, seasonal outfits and mini accessories — ten designs you can borrow for your next tiny cat.
Read the article →
Why Handmade Crochet Gifts Are So Special
A small crocheted cat carries hours, intention and imperfection — three things a mass-produced gift can never include.
Read the article →